
微信小程序使用 OpenCV.js 开发
由于微信小程序限制,无法直接使用 OpenCV.js 进行图形识别处理,需要使用 WebAssmbly 技术进行环境搭建。参考网上资料进行尝试。
准备工作
更新好微信小程序开发工具,以及下载 OpenCV 官网最新代码,配置 WebAssmbly 需要的使用 emsdk。编译 OpenCV 需要的 python 和 cmake 环境。
编译 OpenCV.js
编译工作参考了 https://c4ys.com/archives/2845 这篇 bolg 的方法。可以针对自身需求对 OpenCV 功能进行调整。
修改 opencv_js.config.py/build_js.py 文件
为方便单独配置微信小程序所需要 OpenCV 库文件,复制 platforms/js/opencv_js.config.py 文件并更改名称为 opencv_wx_js.config.py。原始文件是包含 OpenCV 所有功能,根据开发需求选择需要的功能方法。修改最后一行配置内容
1 | # white_list = makeWhiteList([core, imgproc, objdetect, video, dnn, features2d, photo, aruco, calib3d]) |
构建文件 build_js.py 同样需要复制并进行修改,命名为 build_wx_js.py 。
修改其中内容 parser.add_argument('--config', default=os.path.join(os.path.dirname(os.path.abspath(__file__)), 'opencv_wx_js.config.py'), 调整为刚才的配置文件。
修改 CMakeLists.txt 文件
默认 OpenCV4 输出的 wasm 文件是以 base64 保存到 js 文件中,需要手动使用 base64 指令导出,参考 github 方法:https://github.com/opencv/opencv/issues/13356
为方便使用需要修改 modules/js/CMakeLists.txt,去掉 SINGLE_FILE 参数。
1 | # set(EMSCRIPTEN_LINK_FLAGS "${EMSCRIPTEN_LINK_FLAGS} -s MODULARIZE=1 -s SINGLE_FILE=1") |
微信小程序不支持eval()和new Function()等动态执行函数,在modules/js/CMakeLists.txt中,增加DYNAMIC_EXECUTION的编译参数屏蔽这些函数的输出
1 | # set(EMSCRIPTEN_LINK_FLAGS "${EMSCRIPTEN_LINK_FLAGS} -s MODULARIZE=1 -s SINGLE_FILE=1") |
编译 OpenCV
1 | sudo python ./platforms/js/build_wx_js.py build_wasm --build_wasm --build_test |
编译过程中遇到了权限不足的问题,所以赋予权限 sudo,编译成功后结果放置在 ./build_wasm/bin/opencv.js 路径下。测试网页同样放置于该位置。
由于微信小程序有大小限制,需要继续压缩 wasm 文件。
1 | brotli -o build_wasm/bin/opencv_js.wasm.br build_wasm/bin/opencv_js.wasm |
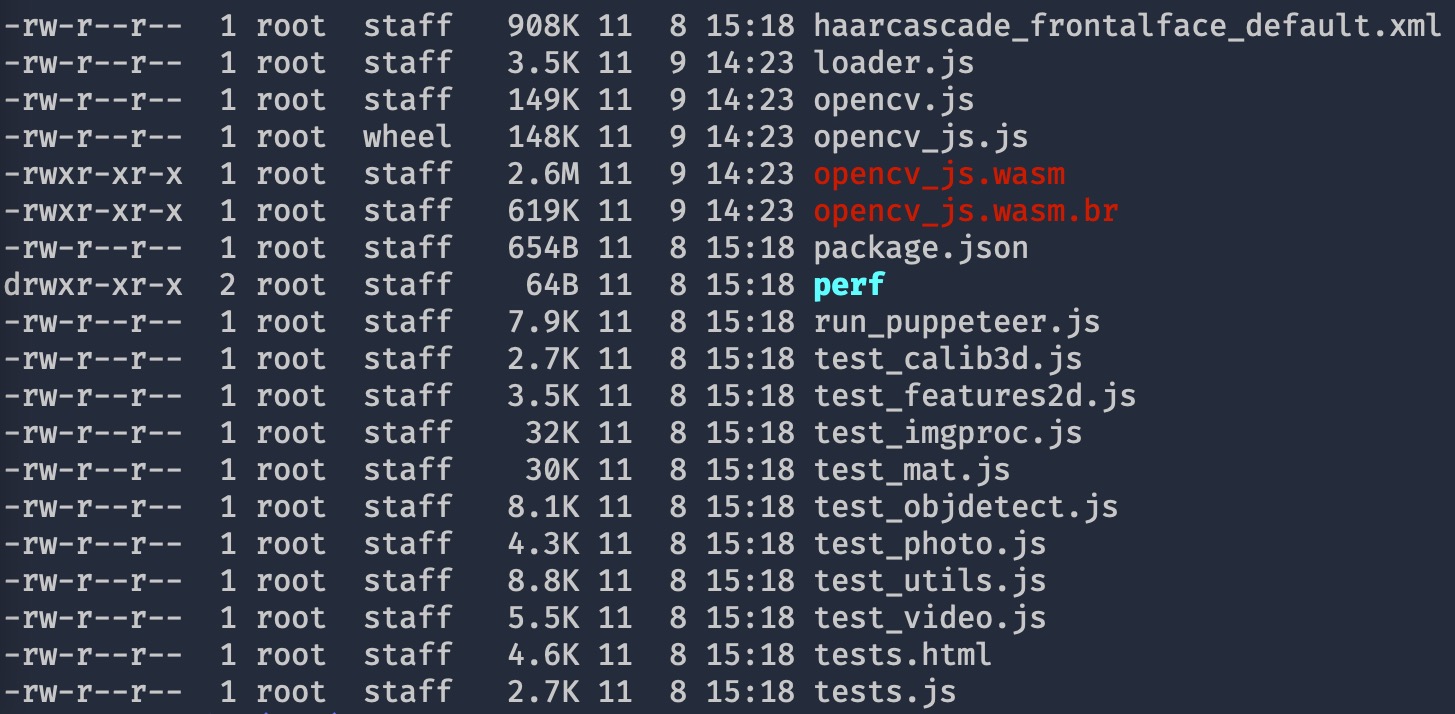
可以看到压缩过后的 wasm.br 文件只有 619k。放到微信小程序中并不会占据很多空间。
运行以及测试
为确保我们打包出的 wasm 文件可以正常使用,需要进行一下功能测试。
npm 安装 http-server 之后进行查看。
1 | npm i -g http-server |
在浏览器打开 http://127.0.0.1:8080/tests.html 可以查看测试结果。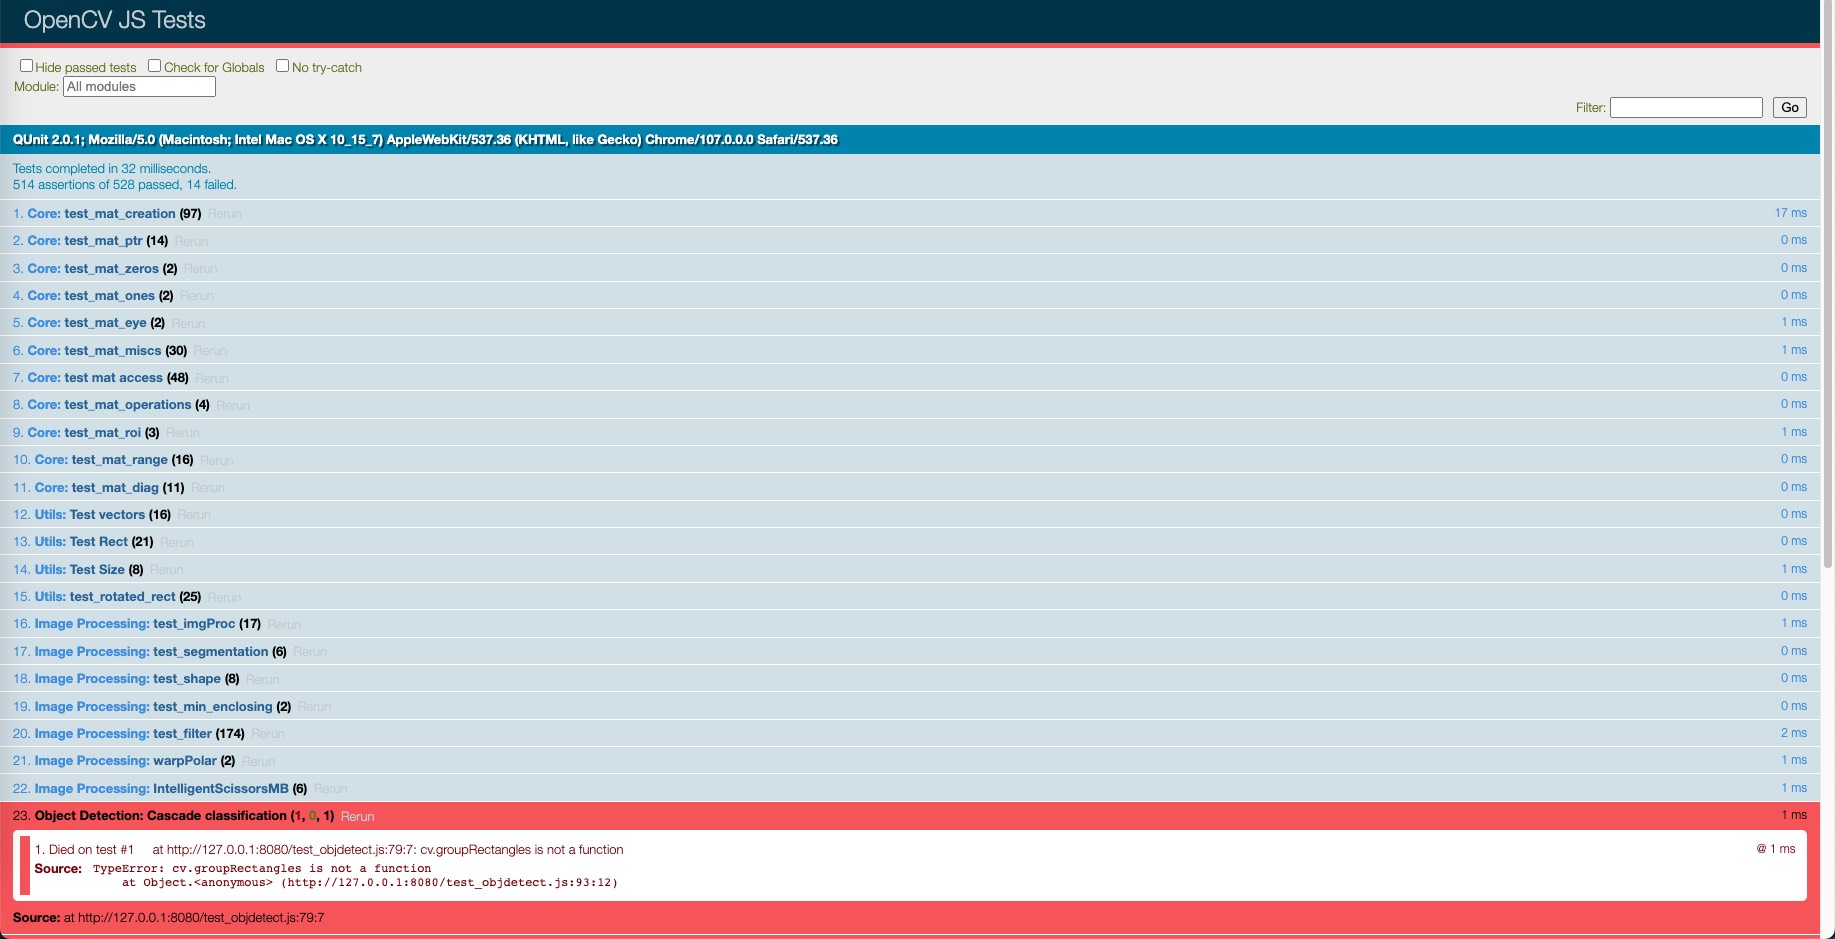
可以看到由于只添加了部分功能模块,测试结果也是部分功能可以通过,自行配置可以根据设置调整所需功能模块。
微信小程序工程配置
成功编译 opencv.js 文件之后就可以在微信小程序工程中进行使用了。
首先还是创建微信小程序环境。页面以及 OpenCV 调用整体参考 https://github.com/sanyuered/WeChat-MiniProgram-AR-WASM Demo 进行设置。
创建 OpenCV 文件夹并放置在工程项目中,包括 opencv_js.wasm.br 和 opencv.js 文件。
使用的测试图片同样放置在工程中。
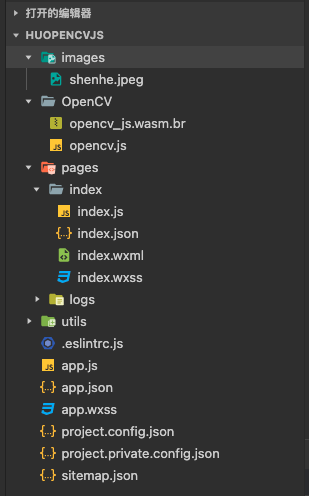
其中 opencv.js 是自动生成的胶水文件,我们需要针对微信小程序进行单独调整配置。
opencv.js 文件配置
格式化 opencv.js 文件,方便一会的调整。
index.js 需要对 opencv 进行引用,添加引用
1 | let cv = require('../../OpenCV/opencv'); |
接下来就是配置的重点,针对错误进行调整处理。
Module is not defined
工程报错 页面【pages/index/index]错误: ReferenceError: Module is not defined,需要调整 opencv.js 文件中 Module 的使用。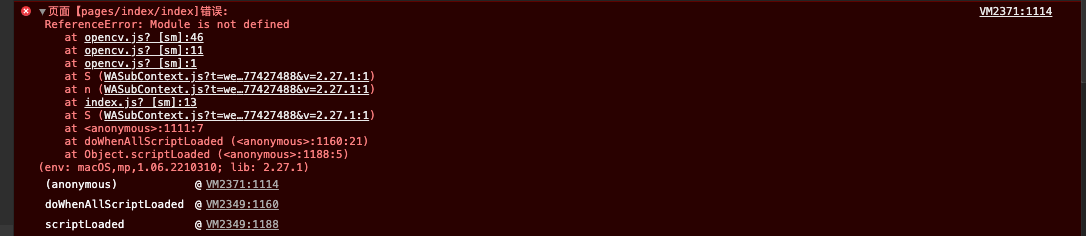
修改 opencv.js 文件中最后一部分,在 Module 出添加 var 关键字。
1 | if (typeof Module === 'undefined') |
WebAssembly is not defined
工程报错 VM2513:1114 页面【pages/index/index]错误: ReferenceError: WebAssembly is not defined,需要将 WebAssembly 改成 WXWebAssembly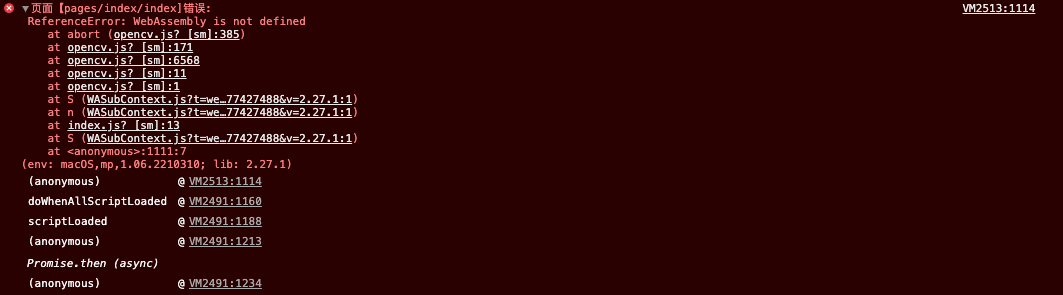
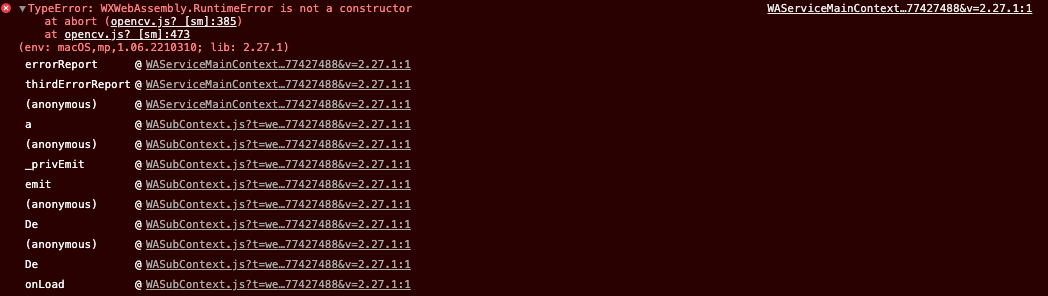
TypeError: WXWebAssembly.RuntimeError is not a constructor
工程报错 WAServiceMainContext.js?t=wechat&s=1667977427488&v=2.27.1:1 TypeError: WXWebAssembly.RuntimeError is not a constructor,微信小程序没有实现 RuntimeError 方法,需要将引用注释。
1 | // var e = new WXWebAssembly.RuntimeError(what); |
Aborted(both async and sync fetching of the wasm failed)
打印错误 Aborted(both async and sync fetching of the wasm failed)。
这个问题出现的原因有两个,首先就是由于 wasm 文件没有被正确引用,需要修改 wasmBinaryFile,正确引用 opencv_wasm.br。
在 index.js 文件中添加 global.wasm_url = '/OpenCV/opencv_js.wasm.br'。
添加过后依旧没有解决这个问题,还需要调整 opencv.js 文件中的 instantiateAsync 方法。
为方便区分调用在头部增加 isWechat 参数进行环境控制。
微信小程序不支持通过url获取wasm,修改下instantiateAsync方法的else分支里面的代码,让读小程序项目下的opencv_js.wasm文件
1 | const isWechat = true; |
至此,整个工程编译可以正确引用 opencv_js.wasm.br 文件中内容,编译不报错,整个页面可以正常显示。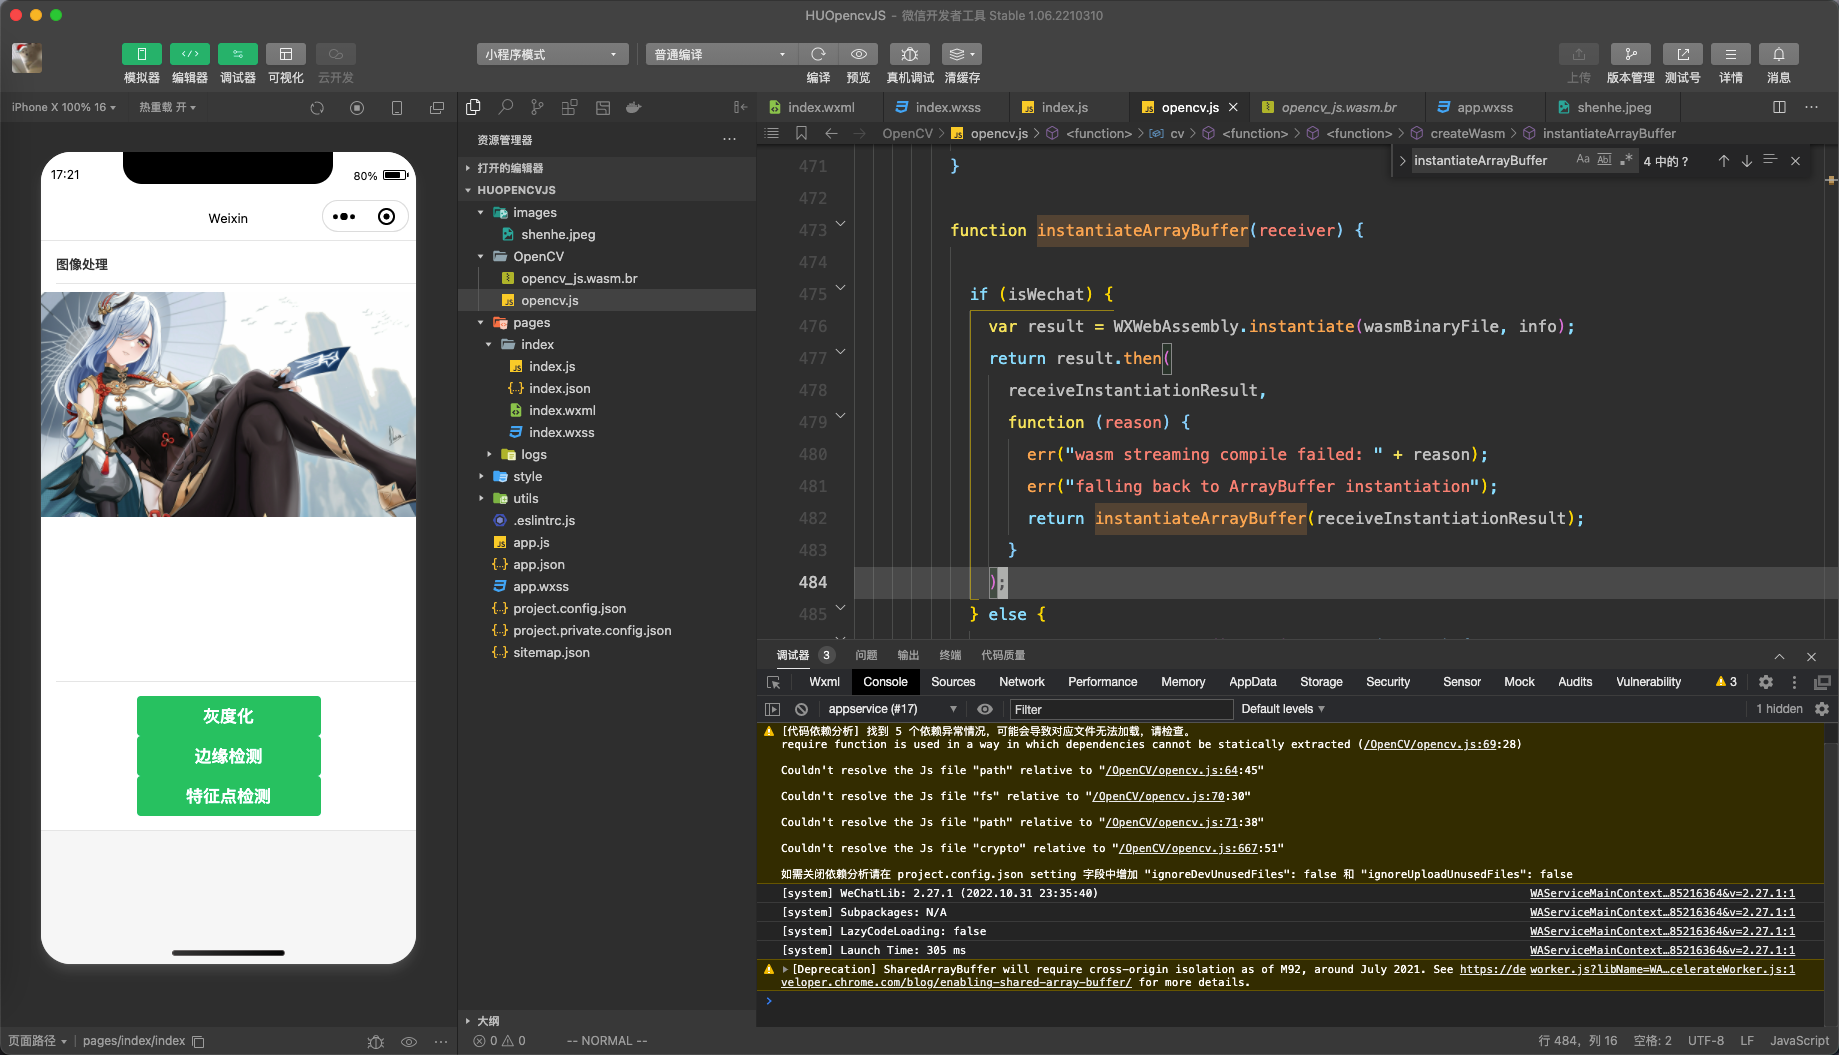
调用 opencv.js 方法
cv 成功加载之后是一个 Promise,需要在对 cv 进行一个拆包。
在 index.js 中进行修改
1 | onLoad(options) { |
HTMLImageElement is not defined & HTMLCanvasElement is not defined
工程报错 ReferenceError: HTMLImageElement is not defined 和 ReferenceError: HTMLCanvasElement is not defined。
原因是在 opencv.js 文件中 imshow 和 imread 方法无法使用 HTMLImageElement 和 HTMLCanvasElement。需要对这两个方法进行单独调整。
1 |
|
成功修改这两个方法之后就可正常使用 cv.imread 和 cv.imshow 方法,demo 至此可以正常运行。运行效果如下: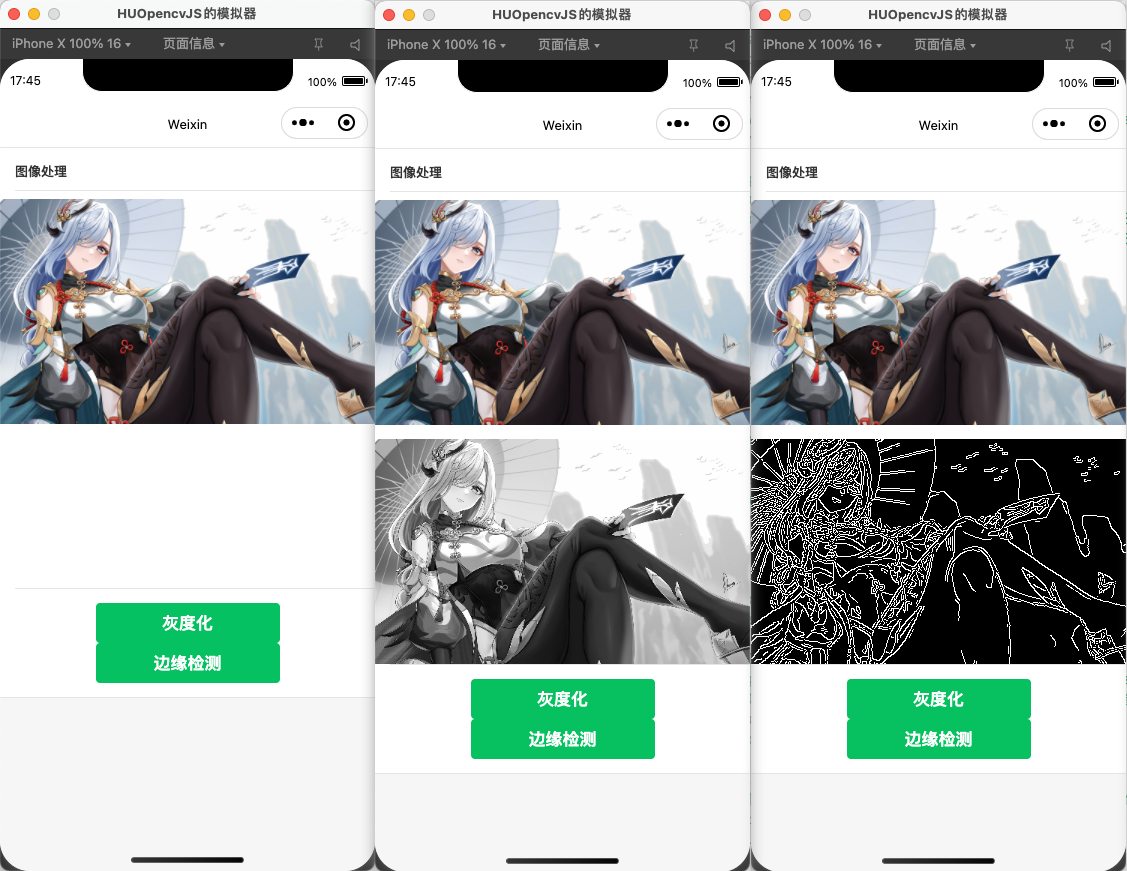
完整 demo 提交到 https://github.com/hGhostD/HUOpenCV/tree/master/HUOpencvJS
Can’t find variable: performance
真机运行报错
1 | index.js:1 (in promise) MiniProgramError |
需要修改 opencv.js 中_emscripten_get_now = () => performance.now(); 更改为 _emscripten_get_now = () => Date.now();